

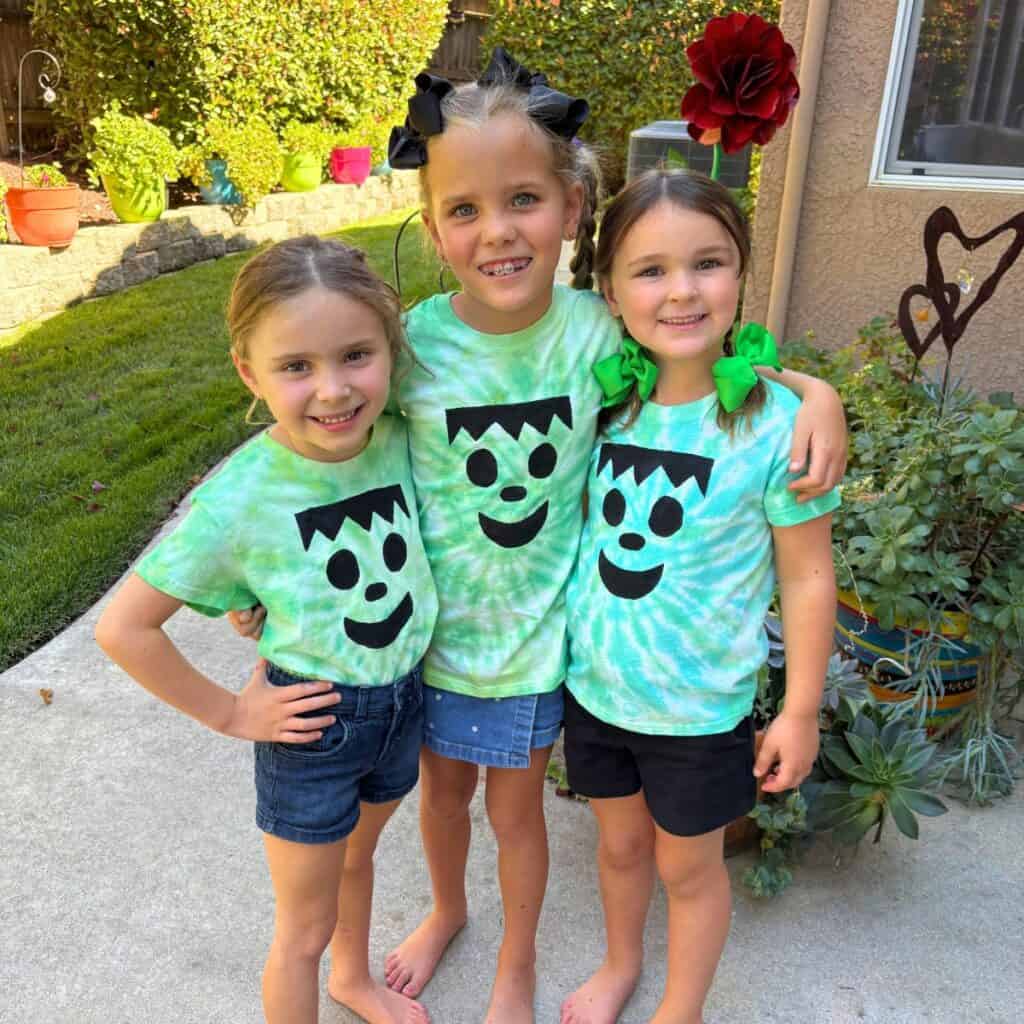
Frankenstein Halloween tie-dye shirts are the perfect follow-up to the jack-o-lantern ones, and honestly they might be even more fun to make since green and lime make such a great “monster” combo. Same process as the pumpkin shirts, just swap the dye colors and stencil, and you’ve got a whole new Halloween character!
- Frankenstein Halloween tie-dye shirts are an unexpected surprise
- The simple process behind these Halloween tie-dye shirts
- Materials needed
- How to make Frankenstein Halloween tie-dye shirts
- Choose from two sizes for the Frankenstein stencil
- Sponge vs. brush What I recommend
- Getting the colors right for Frankenstein Halloween tie-dye
- How to keep your Halloween tie-dye masterpieces looking sharp
- Frequently Asked Questions
Frankenstein Halloween tie-dye shirts are an unexpected surprise
After having made the adorable jack-o’-lantern shirts many, many times, it felt right to try a green version next!
Green and lime just read as “monster” the same way orange and yellow read as “pumpkin.”
The dyeing process is identical, so if you’ve made the jack-o’-lantern shirts before, you already basically know how to do this one.
The only real difference is the shape of the stencil at the end, which turns the same swirly shirt into a totally different Halloween character.
🎃 Related: Check out this spooktacular list of the 50+ best Halloween activities for kids!
The simple process behind these Halloween tie-dye shirts
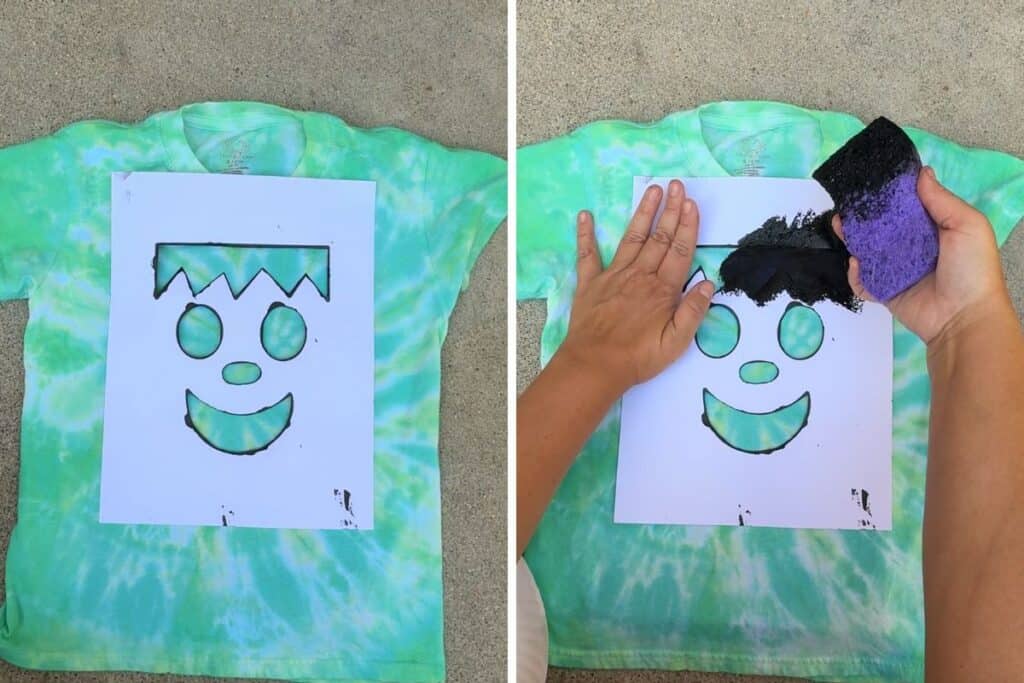
Just like the jack-o-lantern tie-dye shirt version, there are two stages: dye the shirt first, then stencil the face on once it’s completely dry.
You’ll spiral, band, and dye the shirt in green and lime instead of orange and yellow, and then finish it off with a Frank face instead of a pumpkin one.
I still do the dyeing one day and the face the next, but if you’re not precious about it, one long afternoon works, too.
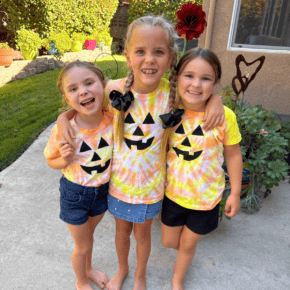
You have try the jack-o-lantern tie-dye version, too!!


Materials needed
Friends Art Lab is a participant in the Amazon Services LLC Associates Program, an affiliate advertising program. As an Amazon Associate, I earn from qualifying purchases. Read more about these links in my disclosure policy.
For the dyeing:
- White cotton t-shirt (I have purchased each small two-pack and big seven-pack multiple times)
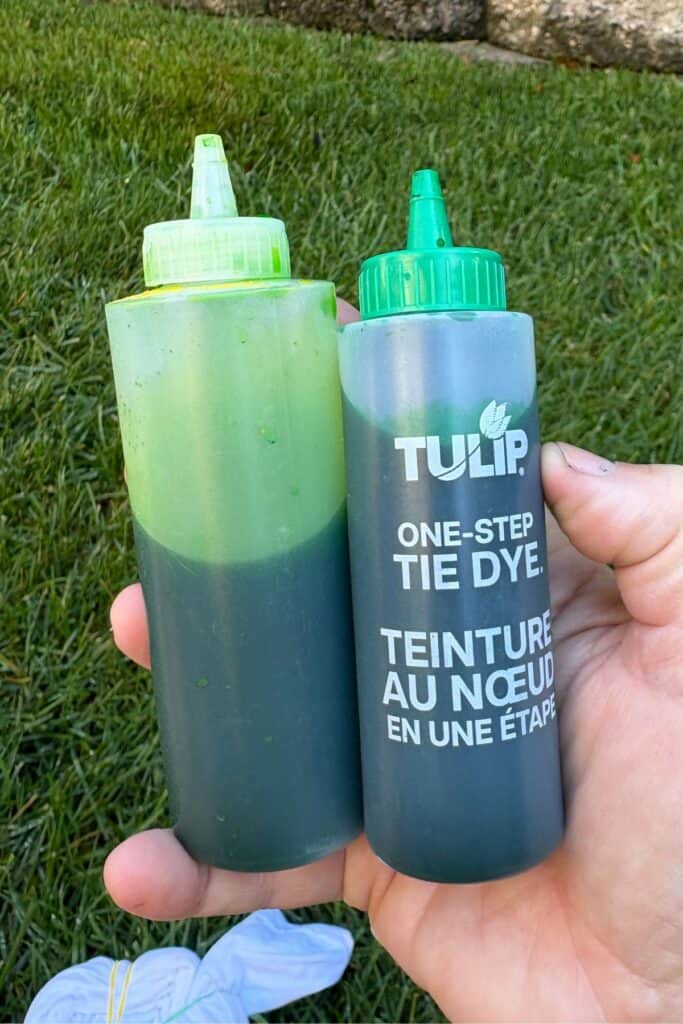
- Green and lime tie-dye – depending on how many shirts you are making, there are TONS OF OPTIONS for the dye:
- Individual bottles: individual green dye (looks like lime isn’t sold in its own bottle at the moment so you can grab the refill below and then use the bottle from the green dye)
- Refill packs: green refill and lime green refill
- Multi color packs: multi pack or large multi pack
- And remember, you purchase lime or make it by mixing yellow + green
- Rubber bands – 3 per shirt
- Gloves (they usually come in the multi tie-dye kits)
- Plastic bag or plastic wrap to cover surface
For the face:
- Free downloadable Frankenstein stencil (kid and adult sizes)
- Black acrylic paint or fabric paint
- Sponge or sponge brush, plus a small paintbrush for touch-ups
- Scissors
- Cardboard, poster board, or paper grocery bag to slide inside the shirt


How to make Frankenstein Halloween tie-dye shirts
Dyeing the shirt:
- Wash the shirt and skip the dryer because it should still be damp for dyeing it.
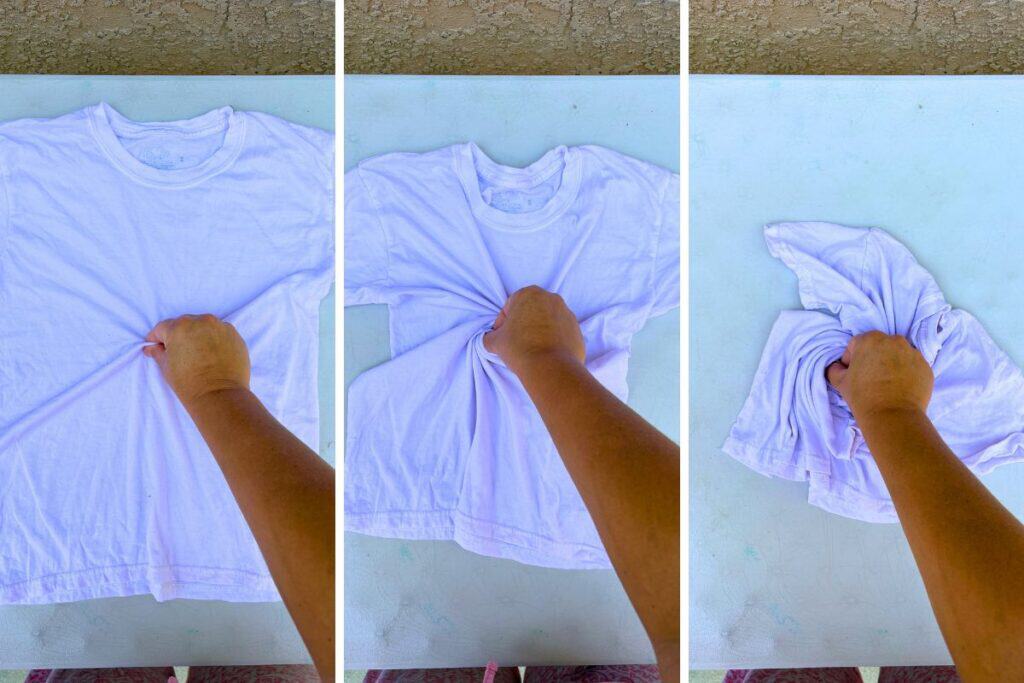
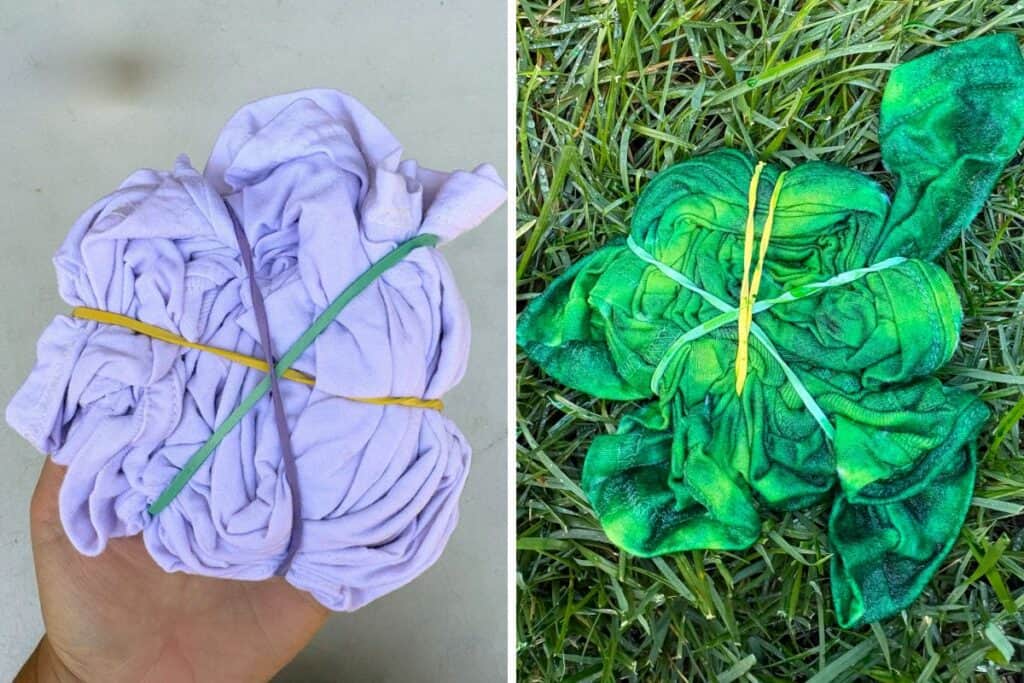
- Pinch the center of the shirt and spin it clockwise into a tight spiral, use three rubber bands to hold the shape.
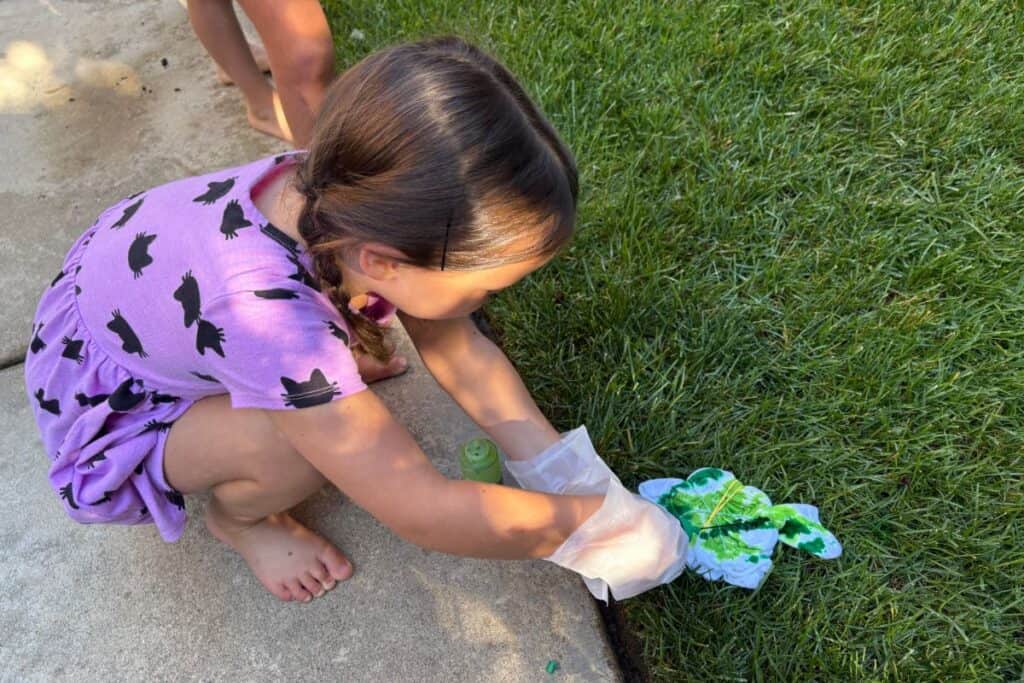
- Mix the green and lime dye per the package instructions and apply it in sections, letting the two shades overlap rather than keeping them separate.
- Let it sit for the time listed on the package, then rinse in the sink until the water runs clear.
- Machine wash the shirt on its own, then dry it completely before moving on.
Adding the face:
6. Print the free printable stencils, pick your size, and cut out the eyes, mouth, and any detail lines.
7. IMPORTANT: Slide your cardboard or paper bag inside the shirt so the paint doesn’t soak through to the back.
8. Hold the stencil in place and dab black paint over the cutouts with the sponge (press straight down instead of swiping).
9. Lift the stencil off immediately, then use the small paintbrush to clean up any edges that need it.
10. Let the paint dry fully before anyone puts the shirt on.
Choose from two sizes for the Frankenstein stencil
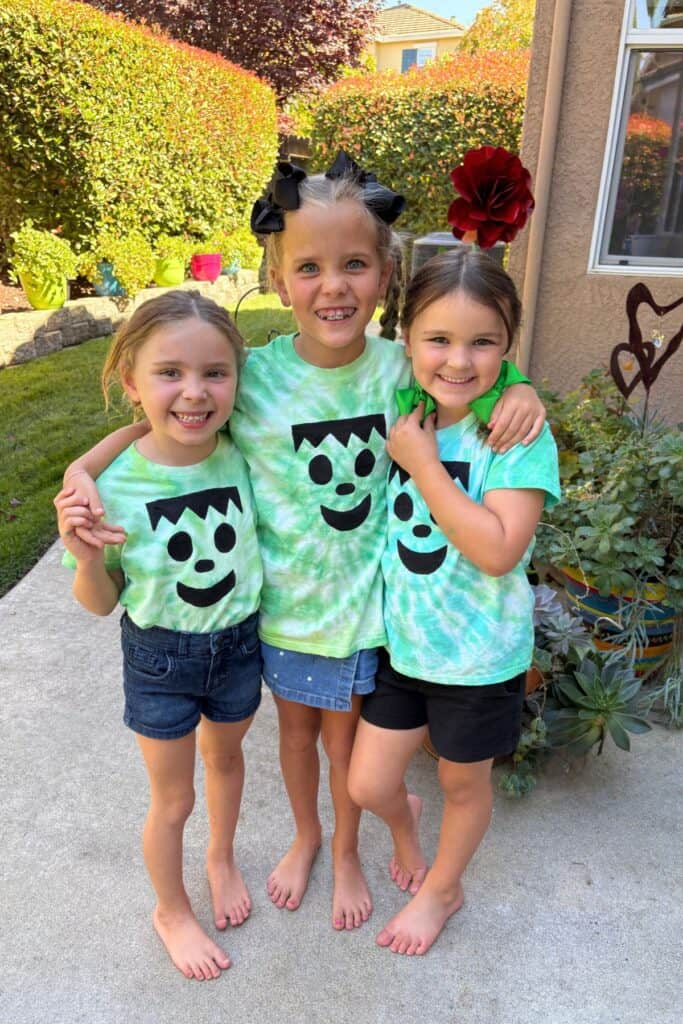
I keep two sizes of this stencil included in the free download for a reason: a small kid one and a bigger adult one.
Toddler and youth shirts have way less real estate than an adult size, so if you use the adult stencil on a little kid’s shirt, the face ends up crowding the whole front of the shirt instead of sitting centered like it should.
When in doubt, hold the printed stencil up against the actual shirt before you cut anything out as you’ll be able to tell right away if it’s going to fit.
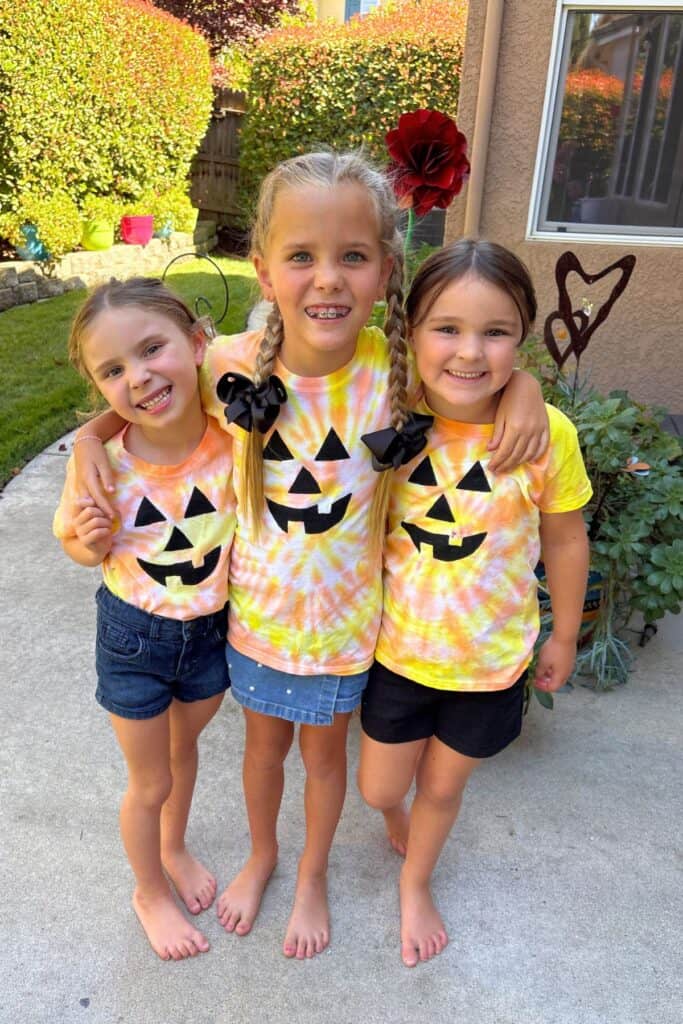
🎃 The download also includes jack-o-lantern stencils to make these, too:
Sponge vs. brush: What I recommend
I used a paintbrush the first year I tried this and regretted it almost immediately.
The bristles push paint under the stencil edges, so you end up with a face that looks blurry instead of sharp.
Switching to a sponge helped tremendously.
The sponge only deposits paint where you press it, so the cutout shape stays clean.
I still keep a small paintbrush around, but only for the very last step, to touch up a corner the sponge missed.
Getting the colors right for Frankenstein Halloween tie-dye
Don’t be afraid to let your lime green and regular green mix and overlap!
Overlapping the colors is what gives the shirt that mottled, uneven look, which, for a Frankenstein shirt, is actually exactly what you want.
If you have a tie-dye kit that does not have lime, you can make lime on your own by mixing green and yellow.
How to keep your Halloween tie-dye masterpieces looking sharp
A few things make the biggest difference here: always wash the shirt inside out and stick to cold water.
I also try not to toss these in the dryer on high heat too many times in a row, since repeated high heat is what eventually dulls the black paint on the face.
Air-drying every so often instead of always machine-drying helps these last a few Halloweens instead of just one.
Frequently Asked Questions
Any green and lime combo works. Just make sure the two shades are different enough from each other that you can actually see the blend once they’re mixed.
It keeps the paint from soaking through to the back of the shirt while you’re stenciling the front.
You can freehand it instead! Sketch the face lightly in pencil first, then paint in the shapes.




LEAVE A COMMENT