

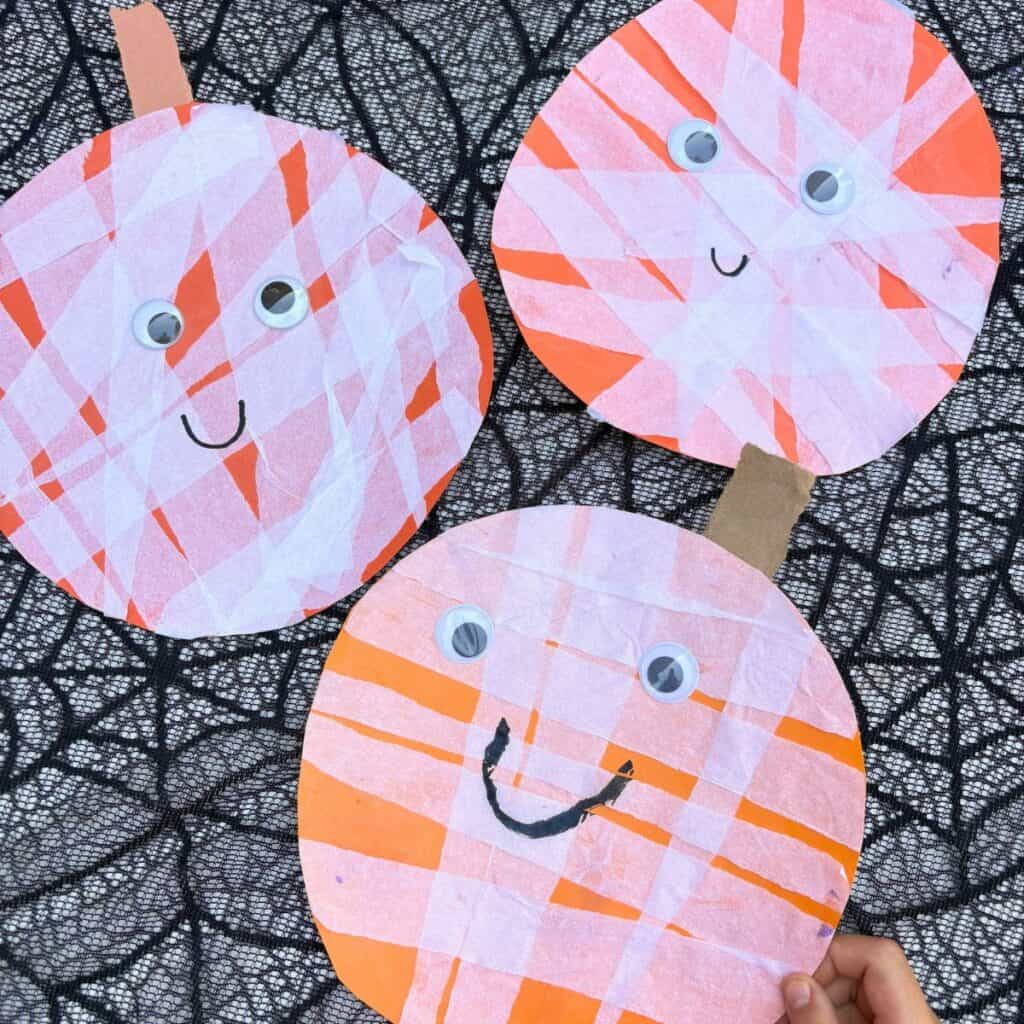
This mummy-wrapped jack-o-lantern craft is Halloween perfection! Tissue paper makes it pop by making these cutie little pumpkins look like mummies.
- Why this jack-o-lantern craft is a Halloween hit
- Tissue paper is the star of this jack-o-lantern craft
- Materials
- How to make a Halloween jack-o-lantern craft
- Final touches Googly eyes vs. drawn-on eyes
- The bilateral coordination behind tearing tissue paper
- The skills kids are actually practicing
- Frequently Asked Questions
Why this jack-o-lantern craft is a Halloween hit
First of all, have you ever seen anything cuter in your life?
This mummy-inspired jack-o-lantern came to me when I was originally prepping this activity with white copy paper because it just wasn’t giving the mummy look.
But you know what worked perfectly? Tissue paper!
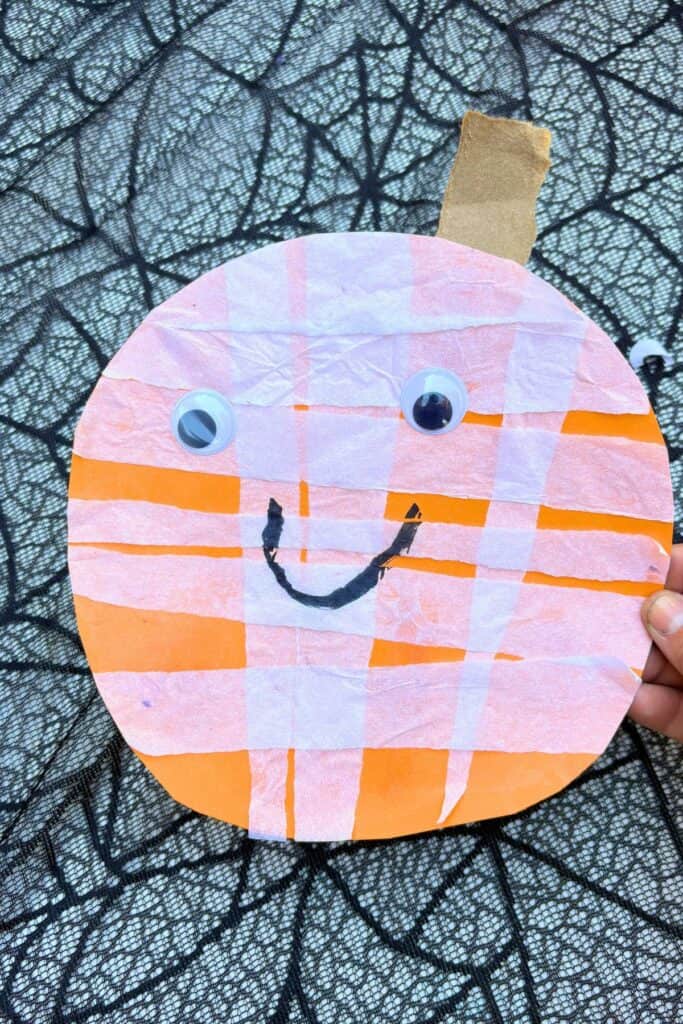
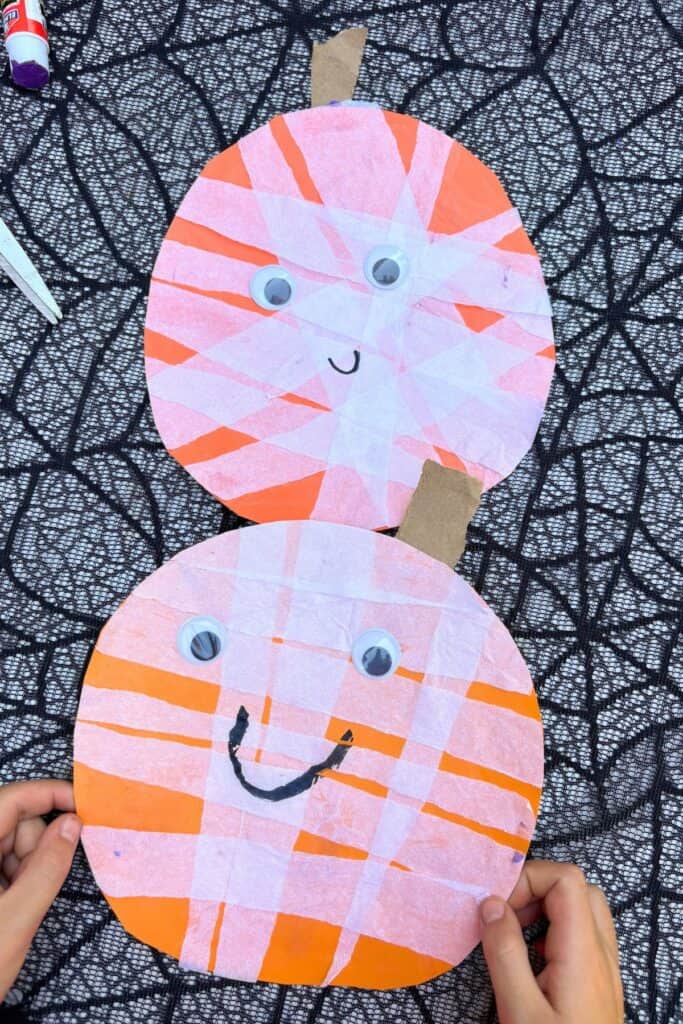
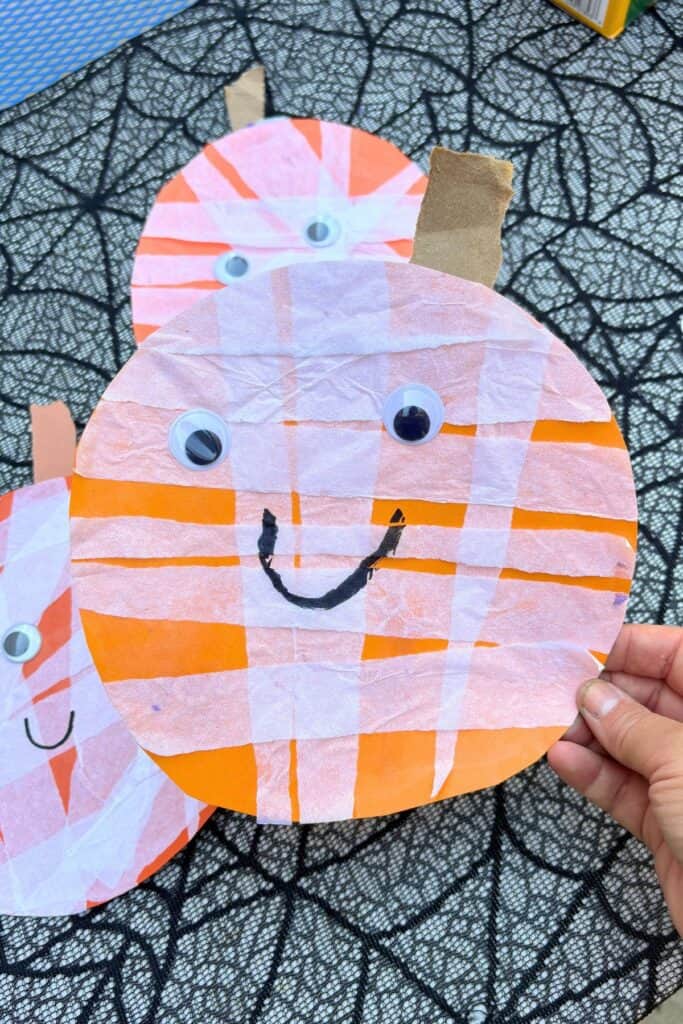
Instead of the usual painted or drawn jack-o-lantern face, this version gets its texture from strips of white tissue paper laid over an orange circle, so it ends up looking a little bit mummy-wrapped and a little bit pumpkin.
🎃 Related: Check out this spooktacular list of the 50+ best Halloween activities for kids!
Tissue paper is the star of this jack-o-lantern craft
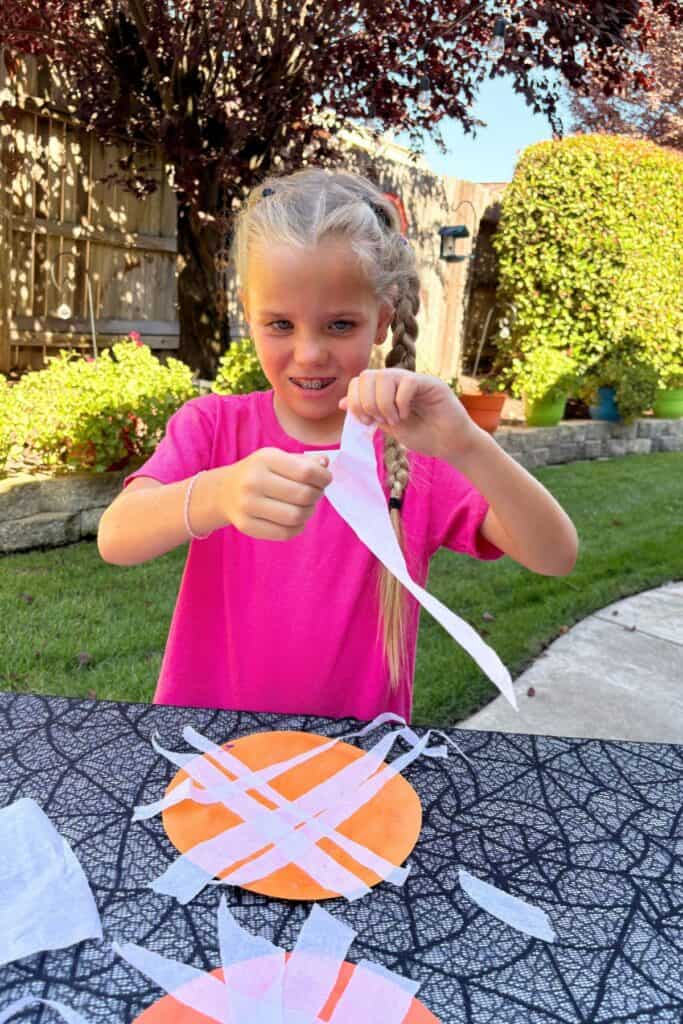
Tissue paper has a wrinkly, slightly see-through quality once it’s glued down flat, so it naturally creases and overlaps in a way that reads as mummy wrapping without kids having to do anything precise.
That same texture is what makes this jack-o-lantern craft look different and stand out from the Halloween crafts crowd.
The orange still peeks through in spots where the strips overlap loosely, which gives the finished pumpkin some depth instead of one flat layer of color.
🎃 There’s more Halloween fun where this came from!
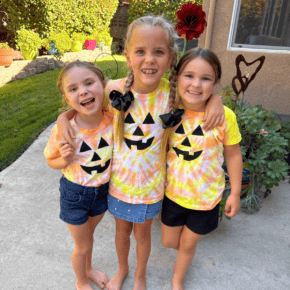
- Jack-O-Lantern Halloween Tie-Dye Shirts
- Halloween STEM Towers with Eyeball Balls and Clay
- Halloween Holidoodles Giant Coloring Poster
- Giant DIY Halloween Word Search


Materials
Friends Art Lab is a participant in the Amazon Services LLC Associates Program, an affiliate advertising program. As an Amazon Associate, I earn from qualifying purchases. Read more about these links in my disclosure policy.
- Orange paper
- White tissue paper
- Small piece of brown paper or paper grocery paper bag (for the stem)
- Glue stick
- Scissors
- Googly eyes (optional)
- Black marker


How to make a Halloween jack-o-lantern craft
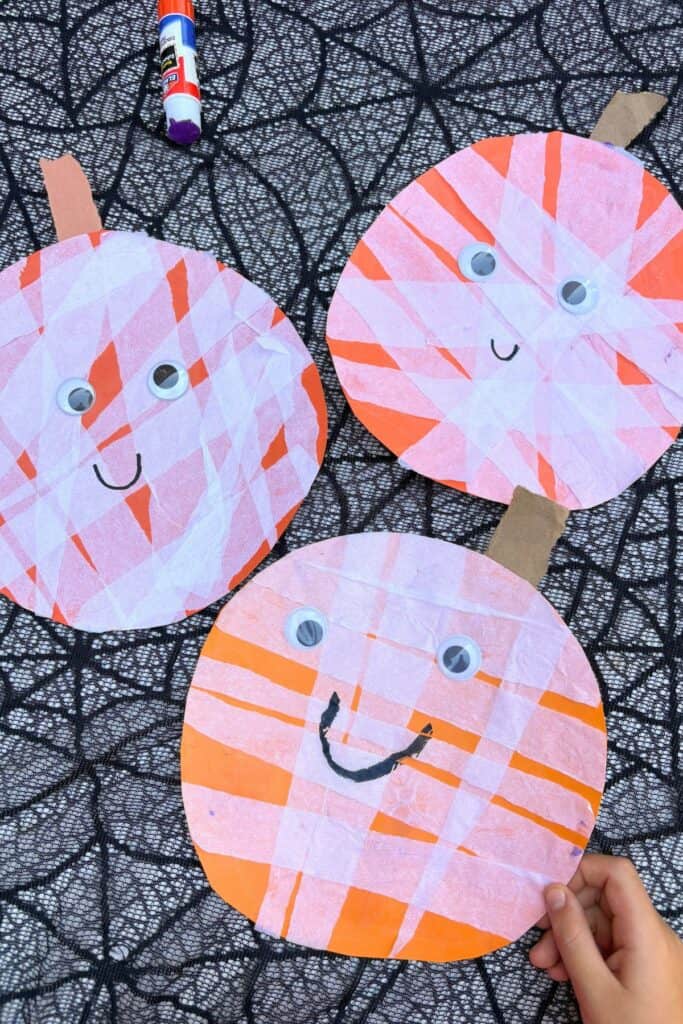
- Cut a circle out of orange construction paper. This is a perfect step for kids to do themselves (they can draw the circle and cut it out).
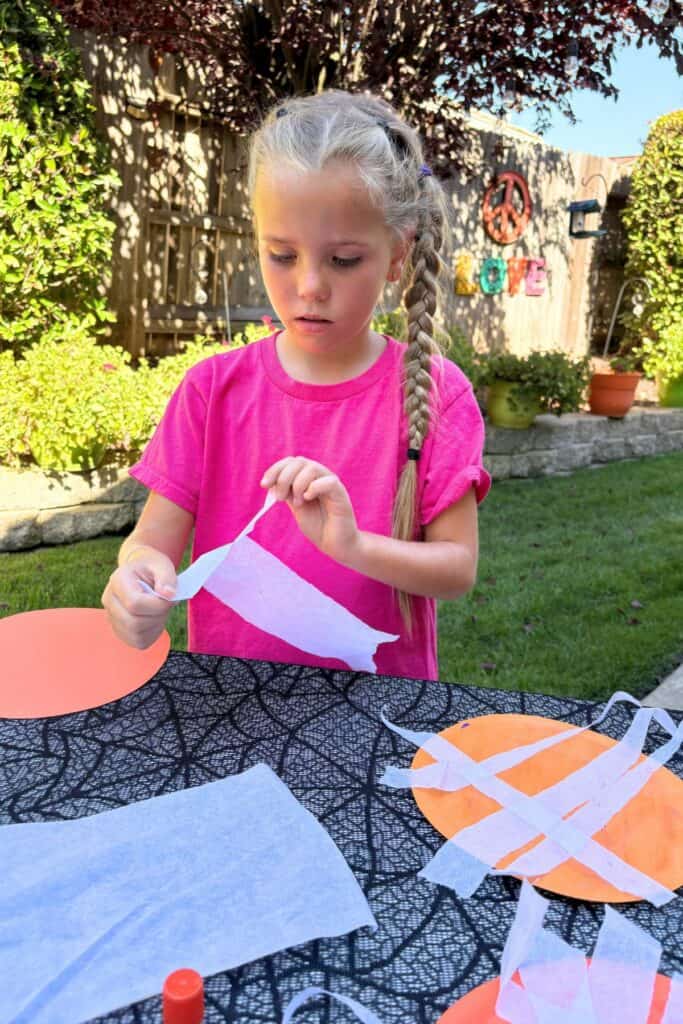
- Tear white tissue paper into strips.
- Cover the orange circle completely with glue stick.
- Lay the tissue paper strips over the glued circle so they overlap like mummy wrap. You might need to add more glue onto the white tissue paper where they overlap.
- Trim off any tissue paper hanging past the edge of the circle.
- Tear a small stem shape out of brown paper and glue it to the top of the pumpkin.
- Add eyes, either drawn on with marker or glued-on googly eyes.
- Draw on a smile to finish the face.
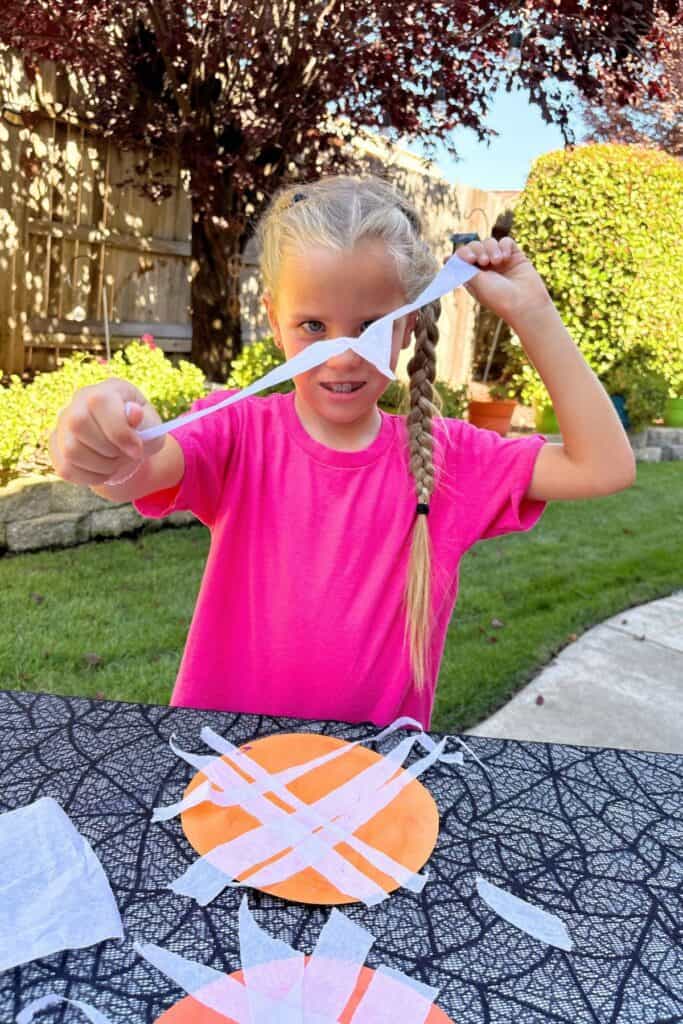
Final touches: Googly eyes vs. drawn-on eyes
Both options work well here, but they give the pumpkin a pretty different look.
Googly eyes add a bit of movement and a slightly silly, cartoonish feel, which younger kids especially tend to love.
Drawn-on eyes let kids control the exact expression, whether that’s a classic triangle jack-o-lantern eye or something rounder and friendlier.
If you’re making a batch with a group, letting kids choose between the two is an easy way to make sure every pumpkin turns out different.
The bilateral coordination behind tearing tissue paper
Tearing tissue paper into strips is a sneaky little bilateral coordination workout.
One hand has to hold the paper steady while the other pulls and tears, and both hands are doing something different at the same time.
That’s a skill kids are still building well into elementary school, and it shows up later in things like cutting with scissors, buttoning a shirt, or tying shoes.
Cute little crafts like this aren’t just for cuteness! They are building skills kids need for their currently stages of development and beyond.
The skills kids are actually practicing
Beyond the bilateral coordination, there’s a lot more packed into this craft, too.
Gluing strips down evenly builds fine motor control and hand strength, arranging the strips so they overlap works on basic spatial planning, and placing the eyes and stem exactly where they want them practices intentional placement rather than just gluing at random.
There’s also a sequencing piece: circle, then glue, then tissue paper, then stem, then face.
This sequencing helps younger kids get comfortable following a multi-step process in order and none of it feels like “practice” to the kids, which is really the best kind of skill-building.
Frequently Asked Questions
A basic glue stick works well and is easiest for kids to control, though liquid glue also works if you don’t mind a little extra drying time.
I would say preschool on up!
Not entirely. Some orange peeking through between strips actually adds texture and depth to the finished look.




LEAVE A COMMENT